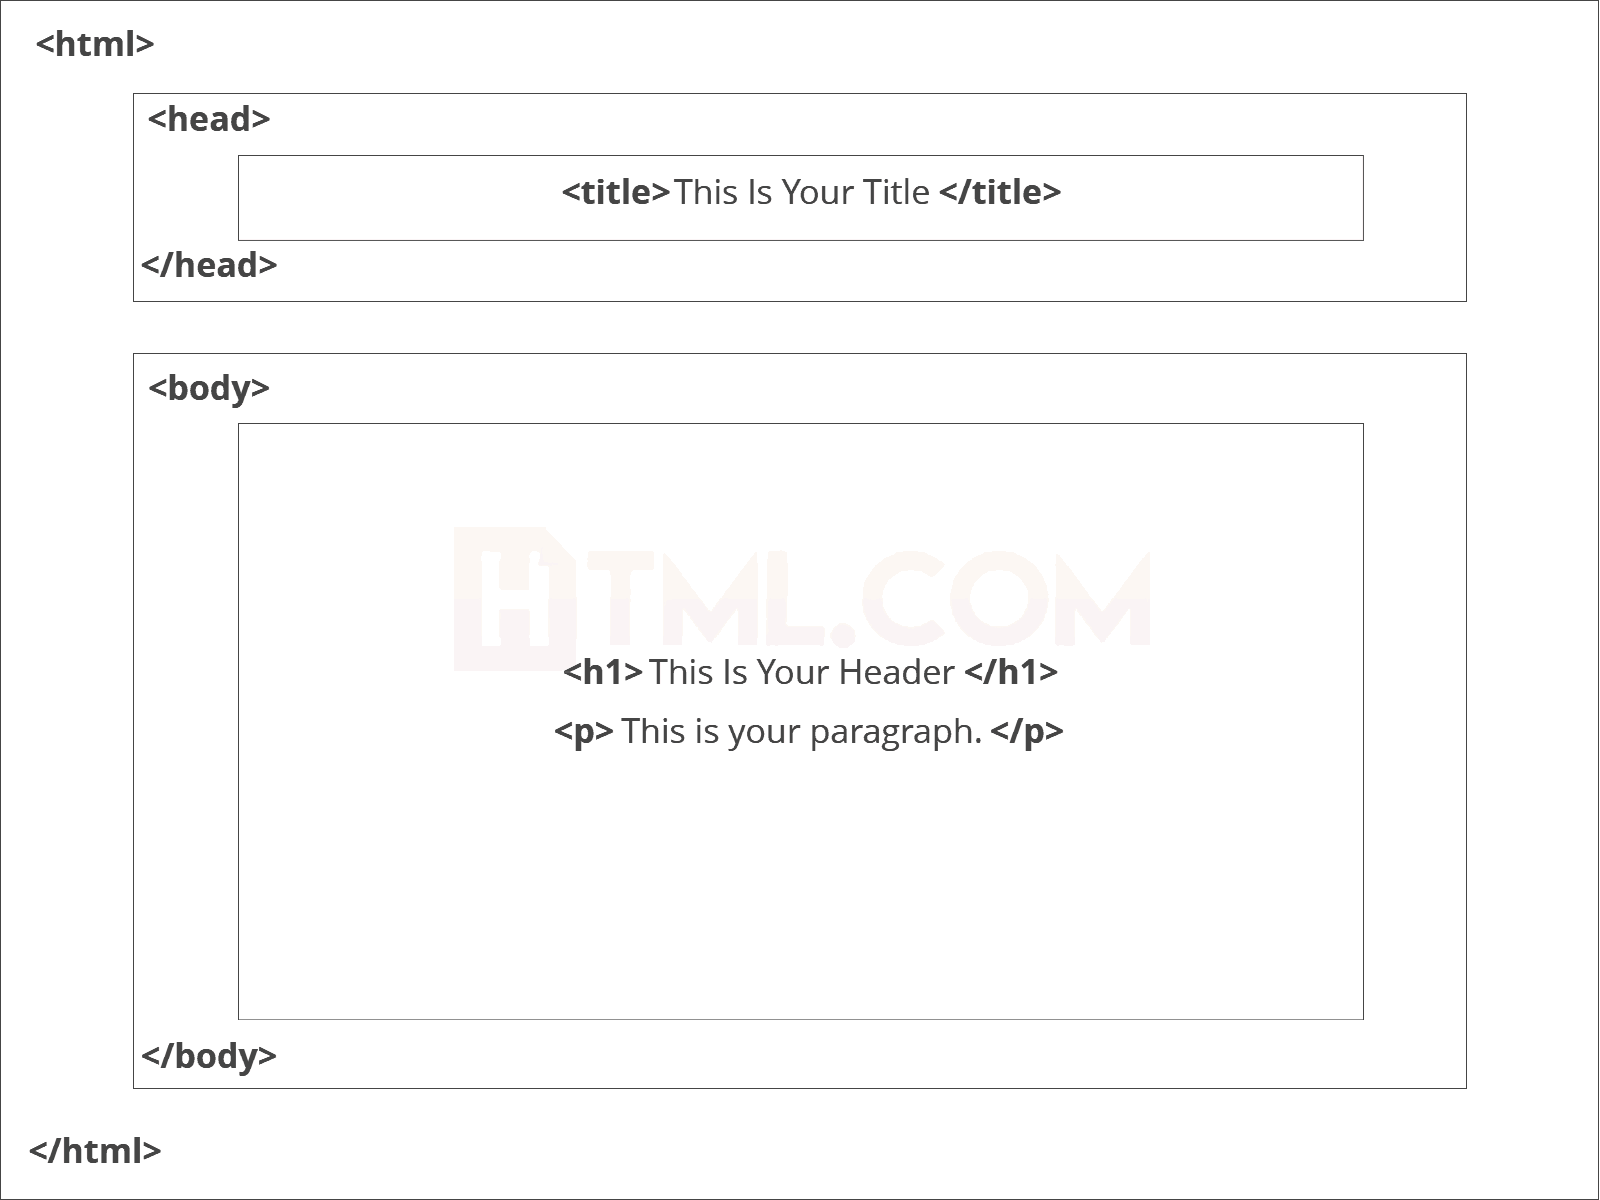
First off, you need to open your HTML editor, where you will find a clean white page on which to write your code.
From there you need to layout your page with the following tags.
Basic Construction of an HTML Page
These tags should be placed underneath each other at the top of every HTML page that you create.
<!DOCTYPE html> — This tag specifies the language you will write on the page. In this case, the language is HTML 5.
<html> — This tag signals that from here on we are going to write in HTML code.
<head> — This is where all the metadata for the page goes — stuff mostly meant for search engines and other computer programs.
<body> — This is where the content of the page goes.

Further Tags
Inside the <head> tag, there is one tag that is always included: <title>, but there are others that are just as important:<title>This is where we insert the page name as it will appear at the top of the browser window or tab.<meta>This is where information about the document is stored: character encoding, name (page context), description.
Let’s try out a basic <head> section:
<head>
<title>My First Webpage</title>
<meta charset="UTF-8">
<meta name="description" content="This field contains information about your page. It is usually around two sentences long.">.
<meta name="author" content="Conor Sheils">
</header>
Adding Content
Next, we will make <body> tag.
The HTML <body> is where we add the content which is designed for viewing by human eyes.
This includes text, images, tables, forms and everything else that we see on the internet each day.
How to Add HTML Headings To Your Web Page
In HTML, headings are written in the following elements:
<h1><h2><h3><h4><h5><h6>
As you might have guessed <h1> and <h2> should be used for the most important titles, while the remaining tags should be used for sub-headings and less important text.
Search engine bots use this order when deciphering which information is most important on a page.
Creating Your Heading
Let’s try it out. On a new line in the HTML editor, type:
<h1>Welcome to My Page</h1>
And hit save. We will save this file as “index.html” in a new folder called “my webpage.”
The Moment of Truth: Click the newly saved file and your first ever web page should open in your default browser. It may not be pretty it’s yours… all yours. *Evil laugh*
Well let’s not get carried away; we’ve still got loads of great features that we can add to your page.
How To Add Text In HTML
Adding text to our HTML page is simple using an element opened with the tag <p> which creates a new paragraph. We place all of our regular text inside the element <p>.
When we write text in HTML, we also have a number of other elements we can use to control the text or make it appear in a certain way.
Other Key Elements
They are as follows:
| Element | Meaning | Purpose |
|---|---|---|
| <b> | Bold | Highlight important information |
| <strong> | Strong | Similarly to bold, to highlight key text |
| <i> | Italic | To denote text |
| <em> | Emphasised Text | Usually used as image captions |
| <mark> | Marked Text | Highlight the background of the text |
| <small> | Small Text | To shrink the text |
| <strike> | Striked Out Text | To place a horizontal line across the text |
| <u> | Underlined Text | Used for links or text highlights |
| <ins> | Inserted Text | Displayed with an underline to show an inserted text |
| <sub> | Subscript Text | Typographical stylistic choice |
| <sup> | Superscript Text | Another typographical presentation style |
These tags must be opened and closed around the text in question.
Let’s try it out. On a new line in the HTML editor, type the following HTML code:
<p>Welcome to <em>my</em> brand new website. This site will be my <strong>new<strong> home on the web.</p>
Don’t forget to hit save and then refresh the page in your browser to see the results.